Remember when you first bought your laptop, and it worked at lightning-fast performance? Over time, though, it may have begun to slow down considerably.
You may wait forever for something to happen when you click. Maybe it doesn’t seem to have as much storage as it used to. It’s all very frustrating.
What if you could significantly improve your laptop’s performance in under 10 minutes without needing technical expertise? We’ll explore why laptops and PCs slow down and introduce a comprehensive approach to get your system running optimally again.
Why Your Laptop Slows Down Over Time
As time passes, laptops often become sluggish, leaving users wondering what might be causing the slowdown. This decrease in performance can be attributed to a variety of factors, including both software and hardware issues.
Common Causes of Laptop Slowdown
Several common causes contribute to a laptop’s slowdown. Resource-heavy programs consume more system resources over time, leading to decreased performance. Temporary files, caches, and logs accumulate, taking up valuable storage space. Fragmented hard drives affect data access speeds, particularly on older HDD systems. Automatic startup programs create bottlenecks during system boot and continue to run in the background, further slowing down the laptop.
Signs Your Laptop Needs a Performance Boost
Identifying the signs that your laptop needs optimization is crucial. Slow startup times, laggy response, frequent freezing, excessive fan noise, and battery drain are all indicators that your laptop’s performance is suffering. Differentiating between software-related slowdowns and hardware limitations is key to addressing the issue effectively. By understanding these signs, you can take the necessary steps to boost your laptop’s performance and maintain its efficiency.
Identify and Close Resource-Heavy Programs
When your laptop slows down, one of the first steps to revitalizing its performance is to identify and close any resource-heavy programs running in the background. Programs can consume a significant amount of processing power, impacting your laptop’s overall performance and speed.
How to Use Task Manager to Find Resource Hogs
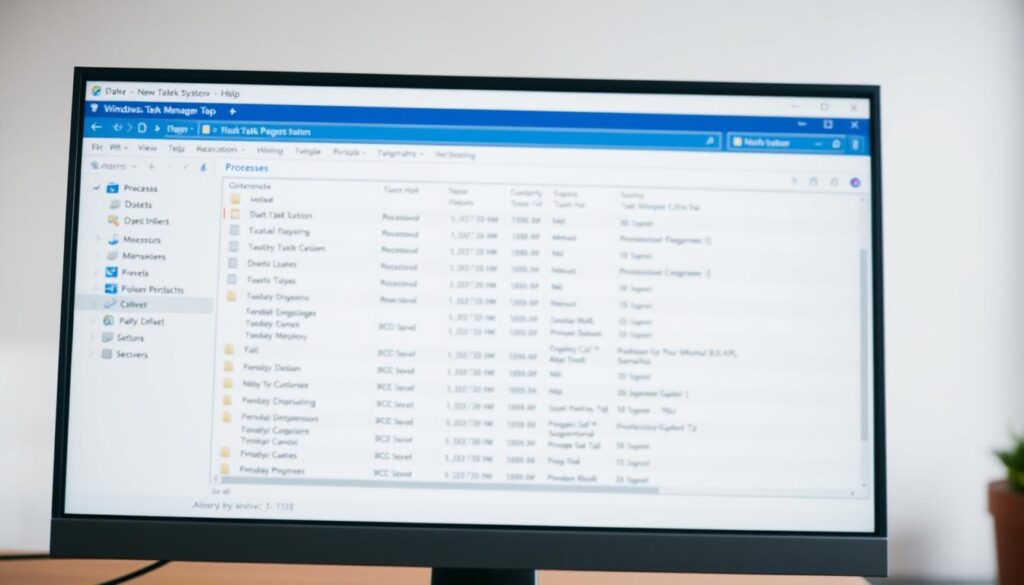
To see which programs are using the most resources on your PC, you can use the Task Manager. To access it, press the Ctrl, Alt, and Delete keys simultaneously, then select Task Manager. Navigate to the Processes tab to view how much CPU, memory, and disk each process is using. This information allows you to identify which programs are consuming the most resources.
To effectively use Task Manager, you need to understand how to interpret the CPU, memory, disk, and network usage columns. Sorting processes by these categories helps you quickly identify the biggest performance drains. For instance, you can sort by memory usage to find applications consuming the most RAM.
Managing Background Processes Effectively
Managing background processes is crucial for maintaining your laptop’s performance. Differentiate between essential system processes and unnecessary background applications to avoid closing critical system files. Be cautious when closing programs to avoid risking data loss or system stability.
To manage background processes effectively, regularly monitor resource usage to identify patterns and recurring issues. Use the “End Task” function judiciously, and consider uninstalling problematic applications if they continue to cause issues. By doing so, you can optimize your laptop’s performance and ensure it runs smoothly.
Prevent Programs from Starting Automatically
Upon starting your laptop, several programs may launch automatically, using up system resources. These programs can significantly slow down your laptop’s startup time and overall performance. By managing these startup programs, you can improve your laptop’s efficiency and speed.
Disabling Startup Programs in Windows 10/11
To disable startup programs in Windows, you will need to access the Task Manager. Press the Ctrl, Alt, and Delete keys simultaneously, then select Task Manager. Once in Task Manager, click on the Startup tab. Here, you will see a list of programs that are set to start automatically. Right-click on any program you wish to prevent from starting automatically and select Disable. This process helps in reducing the load on your system during startup.
Additionally, you can manage startup programs through the Windows Settings. Navigate to Settings > Apps > Startup. This section allows you to toggle on or off the apps that you want to start automatically when you sign in. By disabling unnecessary startup programs, you can significantly improve your laptop’s startup time and overall performance.
Managing Login Items on macOS
For macOS users, managing login items can be done through System Preferences. Go to System Preferences > Users & Groups and select your user account. Then, click on the Login Items tab. Here, you will see a list of applications that are set to launch at login. To remove an application from this list, select it and click the minus (-) button. This action prevents the application from starting automatically when you log in, thereby freeing up system resources.
It’s essential to identify which startup programs are necessary and which can be disabled. Programs that are crucial for system functionality or provide essential services should generally be left enabled. However, applications that you rarely use can typically be disabled to improve startup times. After making these changes, restart your laptop to test its performance and measure the improvement.
Uninstall Unused Programs and Applications
Over time, laptops accumulate unused programs and apps that consume valuable storage space and system resources. These unnecessary programs can slow down your computer and make it harder to find the files you need. Uninstalling them is a straightforward way to improve your laptop’s performance.
Removing Bloatware from Windows PCs
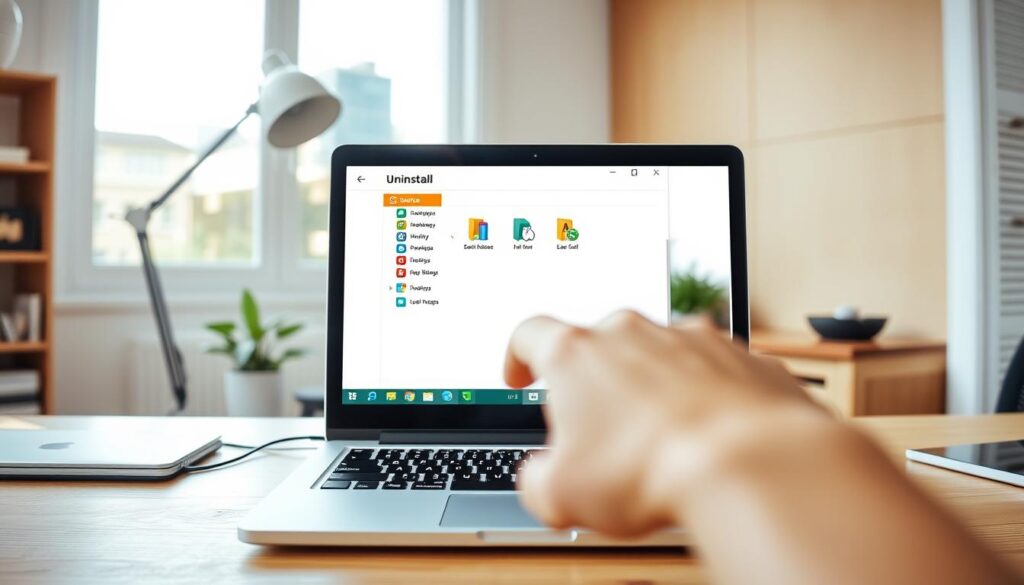
Many Windows PCs come with pre-installed bloatware that you might not need. To remove these programs, you can use the Control Panel. Open the Control Panel, select “Programs and Features,” and then right-click on the program you want to remove. Choose “Uninstall” and follow the prompts. Alternatively, you can use the modern Windows Settings app to remove applications. Go to “Apps & Features,” select the app you want to uninstall, and click “Uninstall.”
It’s essential to be cautious when uninstalling programs to avoid removing critical system components. Some programs are necessary for your system’s stability, and uninstalling them could cause issues. If you’re unsure about a program, you can search online to determine its purpose before deciding to uninstall it.
- Identify manufacturer bloatware and remove it if you don’t use it.
- Use third-party uninstaller tools to remove stubborn programs and their leftover files.
- Regularly review your installed programs to keep your system clean.
Properly Uninstalling Apps on Mac
On a Mac, you can uninstall apps by dragging them to the Trash. However, some apps may leave behind residual files. To completely remove an app, you can use a dedicated uninstaller if provided by the app’s developer. Alternatively, you can use third-party cleaning tools to remove leftover files.
To uninstall an app on Mac, simply drag the app icon from the Applications folder to the Trash, or use the “Move to Trash” option from the contextual menu. Don’t forget to empty the Trash to free up the disk space.
Run Disk Cleanup to Free Up Space
One of the simplest ways to improve your computer’s performance is by running a disk cleanup to free up valuable space. Over time, your computer accumulates temporary files, system logs, and cache data that consume valuable disk space, slowing down your system.
Using Windows Disk Cleanup Utility
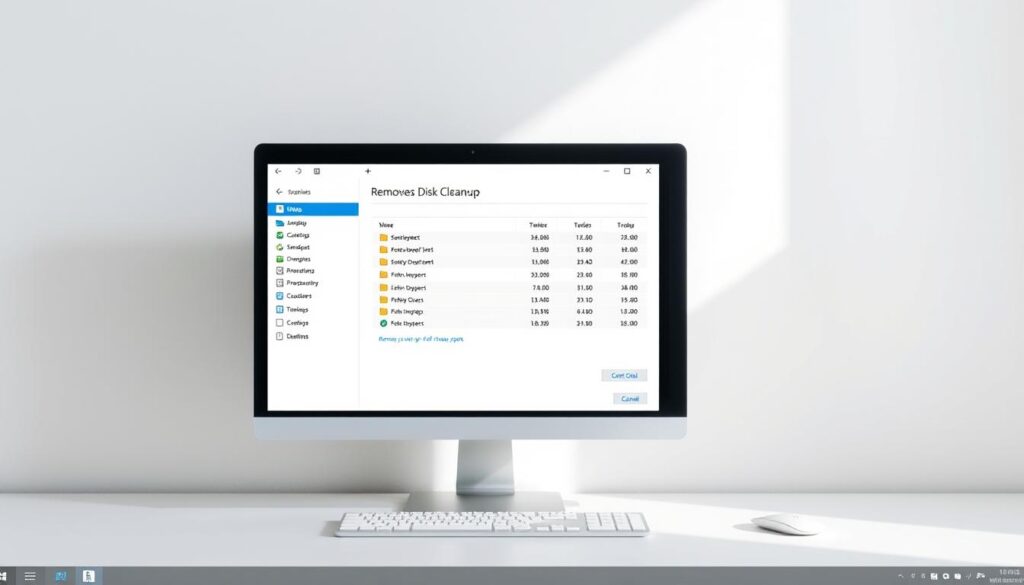
To perform a disk cleanup on a Windows PC, you can use the built-in Disk Cleanup utility. To access this tool, type “Disk Cleanup” into the search box on the taskbar, open the app, and select the drive you want to clean, usually the C: drive. Under “Files to delete,” select the file types you’d like to remove, such as temporary files, recycle bin contents, and thumbnails. Checking the boxes for these files and clicking “OK” will remove them, freeing up space.
For a more thorough cleanup, you can use the “Clean up system files” option to remove Windows update files and other system-level data. This step can help reclaim additional space on your disk.
| File Type | Description | Space Freed |
|---|---|---|
| Temporary Files | Files created by applications for temporary use | Variable |
| Recycle Bin Contents | Files deleted from your computer but not yet removed | Variable |
| Thumbnails | Small images used for previewing files | Small |
Cleaning Up Storage on macOS
On macOS, you can clean up storage using the Storage Management tools. To access these tools, go to “About This Mac” and click on “Storage” followed by “Manage.” Here, you can optimize your storage by removing unnecessary files, such as large files, old downloads, and unused applications.
Regular disk cleanup is essential for maintaining your computer’s performance. By freeing up disk space, you allow your computer to operate more efficiently, find files more quickly, and run applications more smoothly.
Clear Your Browser Cache and Temporary Files
Regularly clearing your browser cache and temporary files can free up significant storage space and enhance your laptop’s performance. As you browse the internet, your browser accumulates various data, including cache, cookies, and temporary files, which can slow down your browsing experience.
These accumulated files not only occupy valuable storage but also impact your browser’s efficiency. Clearing them is a straightforward process that varies slightly depending on the browser you’re using.
Clearing Cache in Popular Browsers
Most popular browsers, including Google Chrome, Mozilla Firefox, Safari, and Microsoft Edge, offer easy options to clear browsing data. To do this, you typically need to access the browser’s settings or preferences menu. Look for options like “Clear History,” “Clear Data,” or “Clear Cache,” and follow the prompts to delete the selected data. You can usually choose to clear all browsing data or select a specific time range, allowing you to manage your data effectively.
Managing Browser Extensions and Add-ons
In addition to clearing cache, reviewing and managing browser extensions and add-ons is crucial. Some extensions, while useful, can consume system resources and slow down your browser. To maintain optimal performance, periodically review your installed extensions and remove any that are unnecessary or redundant. This process helps ensure that your browser runs smoothly and efficiently.
By regularly clearing your browser cache and managing extensions, you can significantly improve your browsing experience and contribute to your laptop’s overall performance.
Check and Upgrade Your Storage
One of the most effective ways to boost your laptop’s performance is by checking and upgrading its storage. Your laptop’s storage is essential for its speed and performance, as it allows your processor to retrieve files quickly.
HDD vs. SSD: Is It Time to Upgrade?
The type of storage drive in your laptop significantly impacts its performance. Traditional hard disk drives (HDDs) use mechanical parts, which can create performance bottlenecks. In contrast, solid state drives (SSDs) use flash memory, allowing for faster file access and improved overall performance.
SSDs can speed up your everyday tasks by up to six times compared to HDDs. They are also more durable, weigh less, and consume less battery power. If your laptop is using an HDD, it might be time to consider upgrading to an SSD.
How to Check Your Current Storage Status
To determine if you need to upgrade your storage, you first need to check your current storage status. On Windows, you can use File Explorer to check your available disk space. Simply open File Explorer, click on “This PC,” and look at the drives listed. On macOS, you can use Disk Utility to check your storage status. Open Disk Utility, select your startup disk, and click on the “Info” button.
Checking your storage status will help you assess whether your current storage is causing performance issues. If you’re running low on space or using an outdated HDD, upgrading to a newer, faster SSD could be the solution.
Add External Storage Solutions
Adding an external SSD is a straightforward way to boost your laptop’s storage and performance. External storage devices plug directly into your laptop via a USB cable, providing additional space in a matter of moments.
Benefits of External SSDs
External SSDs offer several benefits over traditional external hard drives. They provide faster data transfer speeds, making them ideal for accessing large files quickly. The compact design of external SSDs also makes them highly portable, allowing you to carry your important files with you wherever you go.
The connection type of your external SSD, such as USB 3.0, USB-C, or Thunderbolt, significantly impacts its transfer speed. Choosing the right connection type ensures you get the best performance out of your external SSD.
Cloud Storage Options to Free Up Local Space
Cloud storage services like Google Drive, Dropbox, and OneDrive offer an effective way to offload files from your local storage, freeing up space on your laptop’s internal drive. By storing large, infrequently accessed files in the cloud, you can maintain your laptop’s performance without sacrificing access to your data.
Organizing your files between local and cloud storage requires a strategic approach. Consider storing frequently used files locally and less frequently used files in the cloud to optimize performance and accessibility.

Speed Up Your Laptop with RAM Upgrades
One of the most effective ways to breathe new life into your slow laptop is by upgrading its RAM (Random Access Memory). Your laptop’s RAM is crucial for determining its performance, as it serves as temporary working memory for active programs and multitasking.
How to Check If You Need More RAM
To determine if your laptop needs a RAM upgrade, start by checking your current memory usage. Press the Ctrl, Alt, and Delete keys simultaneously, select Task Manager, and open the Performance tab to view your Memory window. If you consistently see high memory usage, it may be a sign that your laptop could benefit from more RAM.
Signs that indicate your laptop needs more RAM include frequent freezing, slow application switching, and overall sluggish system performance.
Choosing and Installing Compatible RAM
Before upgrading, it’s essential to determine the type of RAM your laptop supports. Common types include DDR3, DDR4, and DDR5. Check your laptop’s specifications or use system scanner tools to find compatible RAM modules. The amount of RAM needed depends on your usage; for basic tasks, 4GB may suffice, while 8GB is recommended for everyday use, and 16GB or more for demanding applications.
Not all laptops allow RAM upgrades, as some modern models have soldered RAM. Research your laptop model’s specifications to see if a RAM upgrade is possible.
Maintain Your Laptop’s Physical Condition
To keep your laptop running smoothly, it’s vital to maintain its physical condition. Dust accumulation and poor ventilation can significantly impact your device’s performance and power.
Cleaning Dust from Vents and Fans
Dust buildup in your laptop’s vents and fans can cause it to overheat, leading to reduced system performance. To clean dust, use compressed air in short bursts to avoid damaging the fans. Make sure to hold the can upright to prevent liquid from entering the vents.
- Use compressed air to blow out dust from the vents.
- Wipe the exterior with a microfiber cloth.
Ensuring Proper Ventilation and Cooling
Proper ventilation is crucial for maintaining your laptop’s performance. Ensure your laptop is positioned on a flat surface to allow for adequate airflow. Consider using a cooling pad for intensive tasks.
| Cooling Method | Description | Benefit |
|---|---|---|
| Compressed Air | Blows dust out of vents and fans | Improves airflow |
| Cooling Pad | External device for additional cooling | Enhances laptop cooling during intensive tasks |
| Elevated Positioning | Laptop stand for better airflow underneath | Prevents overheating |
Conclusion: Keeping Your Laptop Running Smoothly
By implementing a few straightforward strategies, you can significantly enhance your laptop performance in no time. To keep your laptop running smoothly, regular maintenance is key. This includes daily habits like closing unused programs to free up system resources, weekly tasks such as clearing your browser cache, and monthly activities like disk cleanup to remove unnecessary files.
Combining multiple optimization techniques yields better results than relying on a single approach. It’s essential to create a personalized optimization plan based on your specific usage patterns and laptop model. Regularly updating your Windows and ensuring you have robust security measures in place also plays a crucial role in maintaining your laptop’s performance.
By adopting these habits, you’ll not only improve your laptop’s performance but also extend its lifespan. Don’t forget to regularly back up your important data to prevent loss. With these simple yet effective strategies, you can enjoy a faster, more efficient laptop experience.


